
Replacing your trailer axles might seem daunting, but with the proper knowledge and tools, it can be a manageable and rewarding do-it-yourself project. This guide walks you through the process, offering step-by-step instructions, essential tips and insights to help you successfully replace your trailer axles.
Learn the benefits of tackling this job yourself, common mistakes to avoid and crucial safety precautions. Additionally, learn when it is best to seek professional help and discover resources for DIY axle replacement. By the end of this guide, you will clearly understand what’s involved in replacing trailer axles — and can decide whether it’s a task you can handle solo.
Get quality replacement parts from Blueswift Axels.
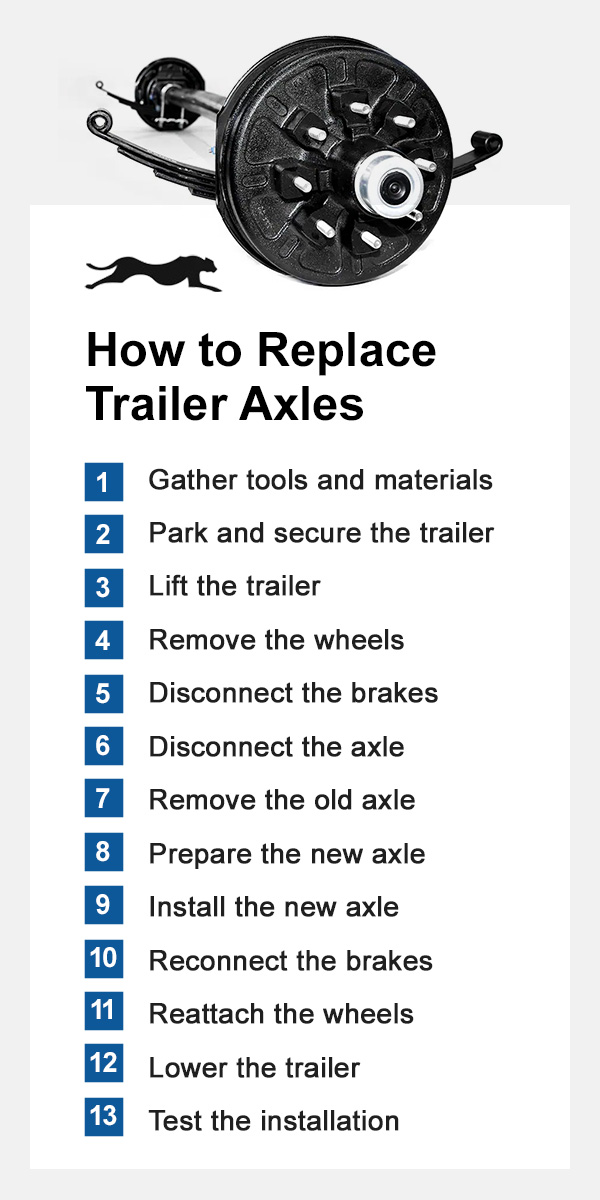
How to Replace Trailer Axles
Replacing trailer axles can be a rewarding DIY project if you follow the correct steps and take the necessary precautions.
Here are the fundamental steps to guide you through the process:
- Gather tools and materials: Ensure you have a floor jack, jack stands, wrenches, sockets, a hammer, new U-bolts, spring seats and the new axle. If your trailer has electric brakes, ensure you have wire cutters and connectors.
- Park and secure the trailer: Park the trailer on a flat and stable surface. Place wheel chocks around the tires to prevent movement.
- Lift the trailer: Use a floor jack to lift the trailer by the frame. Raise it high enough to ensure the wheels are off the ground. Place jack stands under the frame for added safety.
- Remove the wheels: Using a socket wrench or impact driver, remove the lug nuts and take off the wheels. Set the wheels aside in a safe place, out of the way.
- Disconnect the brakes: If your trailer has electric brakes, carefully disconnect the wiring from the axle. Use wire cutters and snip the wires on the brake side so that you have fresh wire to reconnect later on. Once cut, secure the loose ends to prevent damage.
- Disconnect the axle: Remove the bolts securing the axle to the leaf springs. Ensure all connections are fully detached before proceeding.
- Remove the old axle: Gently lower it and slide it out from under the trailer. Be cautious of any remaining connections or obstructions.
- Prepare the new axle: If the new axle doesn’t come with preinstalled spring seats, you’ll need to attach them. Ensure they are correctly aligned and secured.
- Install the new axle: Slide the new axle between the trailer frame and springs and align it with the leaf springs. Secure it using new U-bolts and spring seats. Tighten the bolts evenly to ensure a secure fit.
- Reconnect the brakes: Reconnect the brake wiring to the new axle. Ensure all connections are secure and properly insulated to avoid electrical issues.
- Reattach the wheels: Place the wheels back onto the new axle and tighten the lug nuts. Make sure they are torqued to the manufacturer’s specifications.
- Lower the trailer: Remove the jack stands and ensure the trailer is stable. Carefully lower the trailer back to the ground using the floor jack.
- Test the installation: Double-check all the connections and bolts. Take the trailer for a test drive to ensure everything functions and the axle is aligned correctly.
Trailer Axle Replacement Tips and Insights
Now that you know how to replace a trailer axle, it is essential to consider some additional tips and insights to ensure a smooth and successful process. These points will help you avoid common pitfalls, boosting efficiency and safety.
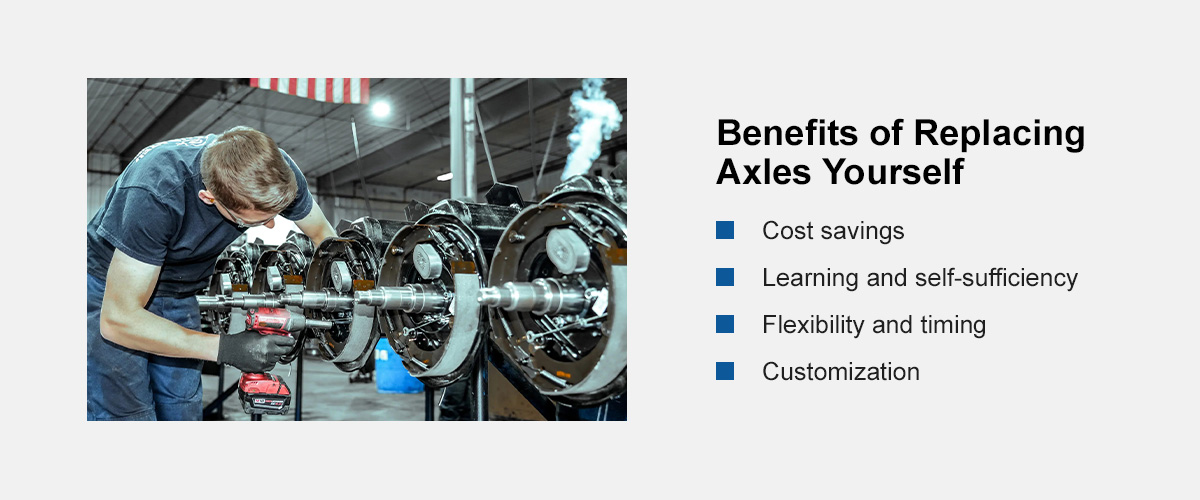
Benefits of Replacing Axles Yourself
Taking on the task of replacing your trailer axles yourself offers several advantages, including the following:
- Cost savings: Handling the axle replacement alone can lead to significant financial savings. By avoiding labor fees charged by professionals, you can allocate your budget toward higher-quality parts or other maintenance needs. This ultimately reduces your overall expenses.
- Learning and self-sufficiency: Understanding your trailer’s mechanics and fitting it yourself is gratifying. This knowledge boosts your confidence and equips you with the skills to handle future repairs. This makes you more self-sufficient and less reliant on external help.
- Flexibility and timing: DIY projects allow you to work on your own schedule, providing flexibility that professional services often can’t match. It means you can avoid the downtime associated with waiting for an appointment, ensuring your trailer is on the road as soon as possible.
- Customization: Replacing your axles gives you complete control over the parts you choose. This enables you to ensure you have the best possible components for your needs. It also provides greater tailoring and perhaps even a better-performing setup than a standard replacement.
Common Axle Replacement Mistakes to Avoid
When replacing axles, it’s crucial to avoid common mistakes that can compromise the safety and functionality of your trailer. Consider the following common errors:
- Wrong axle specifications: It is essential to ensure the axle’s capacity, size and type suit your trailer and its load. Using an axle that doesn’t match your trailer’s specifications can lead to poor performance, safety issues and potential damage to the axle and the trailer.
- Improper alignment: Poor axle alignment can cause uneven tire wear and long-term damage. It is, therefore, crucial to ensure the axle is aligned correctly during the installation. This helps maintain the trailer’s stability and extends the life of your tires.
- Skipping grease and lubrication: Many DIYers often overlook the proper lubrication of wheel bearings, which is crucial for preventing premature axle failure. Regularly greasing and lubricating the bearings ensures smooth riding and reduces the risk of overheating and damage.
- Rushing the job: Cutting corners or rushing through critical steps can jeopardize the overall success of your axle replacement. Be sure to take the time to follow each step carefully. This will help you ensure that all components are correctly installed and secured.
- Incorrect torque on bolts: It is crucial to use a torque wrench to ensure that all nuts and bolts are correctly tightened. Incorrect torque can lead to loose components or even over-tightening. Both of these can cause significant issues while operating your trailer. Always refer to the manufacturer’s specifications for the correct torque settings.
Axle Replacement Safety Tips and Precautions
Take note of the following trailer axle safety precautions:
- Wear protective gear: Always use gloves, safety glasses and steel-toed boots to avoid injury during replacement. Protective gear can help prevent cuts, eye injuries and foot injuries from falling objects or tools.
- Use the correct tools: Using the right tools is essential to help avoid accidents. Ensure you have jacks and stands rated for the weight of your trailer. Having the proper tools makes the job easier and significantly reduces the risk of accidents and injuries.
- Work on a flat, stable surface: Working on level ground is essential for safe axle replacement. It prevents the trailer from moving unexpectedly, ensuring it remains stable during the replacement process. A stable surface helps maintain control and reduces the risk of the trailer shifting or tipping over.
- Double-check secured parts: Before finishing, double-check that everything is bolted correctly and that nothing is loose. Ensure that all parts are securely fastened to prevent road accidents and promote your new axle’s longevity.
- Have a second person on hand: Extra hands can help with safety and efficiency. A second person can assist with lifting, holding parts in place and providing an additional set of eyes to spot any issues you might miss.
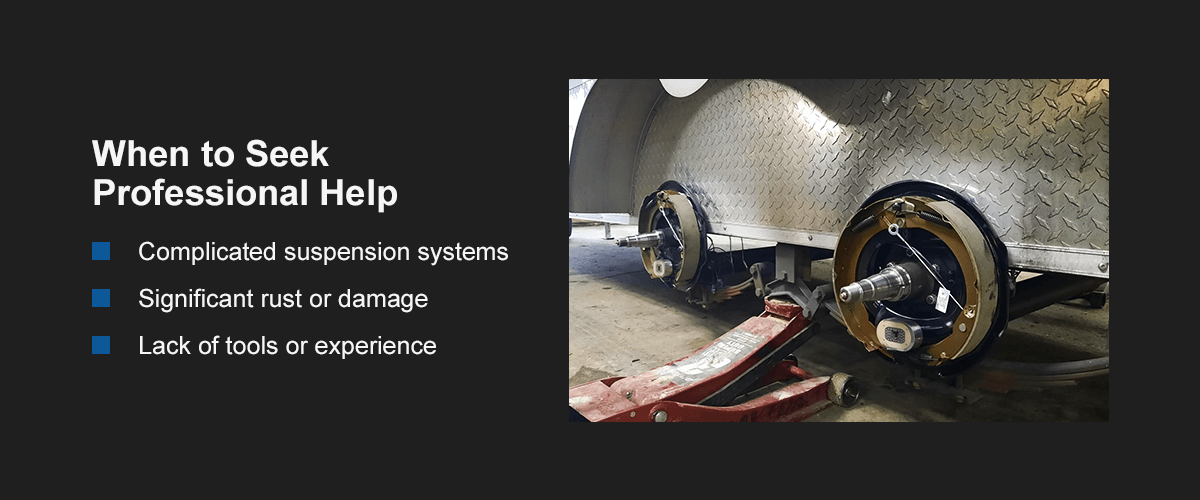
When to Seek Professional Help
While DIY axle replacement can be rewarding and even straightforward, there are situations where professional assistance is advisable. The following are examples of when to consult an expert:
- Complicated suspension systems: If the axle is part of a complex suspension system, it may require advanced knowledge and specialized tools. In these cases, it is better to seek a professional to ensure the job is done correctly and safely and to prevent any damage to the axle or your trailer.
- Significant rust or damage: If there are signs of corrosion or structural damage on the existing axle or trailer, it is best to have a professional inspect or even replace it. A professional can assess the extent of the damage and recommend the best course of action. This will ensure the longevity and safety of your trailer.
- Lack of tools or experience: Be honest about your limitations. If you lack the necessary tools or mechanical knowledge, contacting the professionals at a local shop is a wise decision. Professionals have the expertise and equipment to handle the job efficiently and effectively. This can reduce the risk of error and ensure a reliable and safe axle replacement.
Resources for DIY Axle Replacement
The right resources, tools, equipment and support are crucial for a successful DIY axle replacement project. The following are some essential resources that you might find helpful:
- How-to videos: For step-by-step guidance, you can browse and watch instructional videos, such as how to change an axle, which provide a visual walk-through of completing the replacement process and other useful information.
- Tool and equipment recommendations: In addition to the necessary tools, you’ll need personal protective gear like gloves and goggles for a smooth axle replacement. These tools ensure you can perform the job safely and effectively. You can find these items at hardware stores, automotive supply shops or online retailers specializing in automotive tools and equipment.
- Blueswift Axles support: Beyond answering any frequently asked questions you might have, Blueswift Axles offers customer support for any questions or concerns during the DIY axle replacement process. We can help you solve any issues you might be having and make the necessary recommendations to help you get your axle replacement completed safely and on time.
Maintenance Tips to Extend Axle Life Span
Proper routine maintenance is key to enhancing and extending the life span of your trailer’s axles. Some essential maintenance tips include the following:
- Regular inspections: Regularly check the condition of your axles for rust, cracks or signs of wear. Detecting issues early enough can prevent more serious damage and ensure your trailer remains safe and functional. So, be sure to make it a habit to inspect your axles before long trips or heavy usage.
- Proper lubrication: Keeping the axle and wheel bearings well-greased is crucial to reduce friction and prevent overheating. Regularly lubricating them can ensure smooth operation and extend the life of your axle components. Use a grease gun to apply the appropriate grease to the wheel bearings. You can also apply oil to moving parts like springs, shackles, equalizers, and bolts, and follow the manufacturer’s recommendations.
High-Quality Options From Blueswift Axles
Blueswift Axles offers a comprehensive range of high-quality trailer axles designed to meet various hauling needs. Some of the products include a selection of torsion axles, straight spring trailer axles, drop spring trailer axles, and custom-built options tailored to specific requirements.
Each axle is engineered for durability, ensuring long-lasting performance even under heavy loads. Blueswift Axles also designs products for easy installation, so the company is popular among DIY enthusiasts and professionals. The precision engineering and robust construction of these axles help ensure your trailer remains safe and reliable on the road.
Choosing Blueswift Axles comes with several unique advantages. One of the standout features is the use of superior materials. Our team sources high-grade steel and other components to manufacture quality axles, which enhances their strength and longevity. This commitment to quality materials ensures that the axles can withstand frequent use and harsh conditions.
In addition to top-notch products, Blueswift Axles is renowned for exceptional customer service. We offer comprehensive support to help customers select the right axle for their needs and provide detailed installation guides. This level of unparalleled service means that even those with less experience in trailer maintenance can confidently undertake an axle replacement project.
Furthermore, we stand behind the various products with 5-10 year warranties, giving customers peace of mind. The warranties cover manufacturing defects and provide assurance that any issues will be promptly addressed. This combination of high-quality products, superior materials, excellent customer service and strong warranties makes Blueswift Axles a trusted choice for trailer owners. Whether you want to upgrade or replace your axle, we have the right solutions.
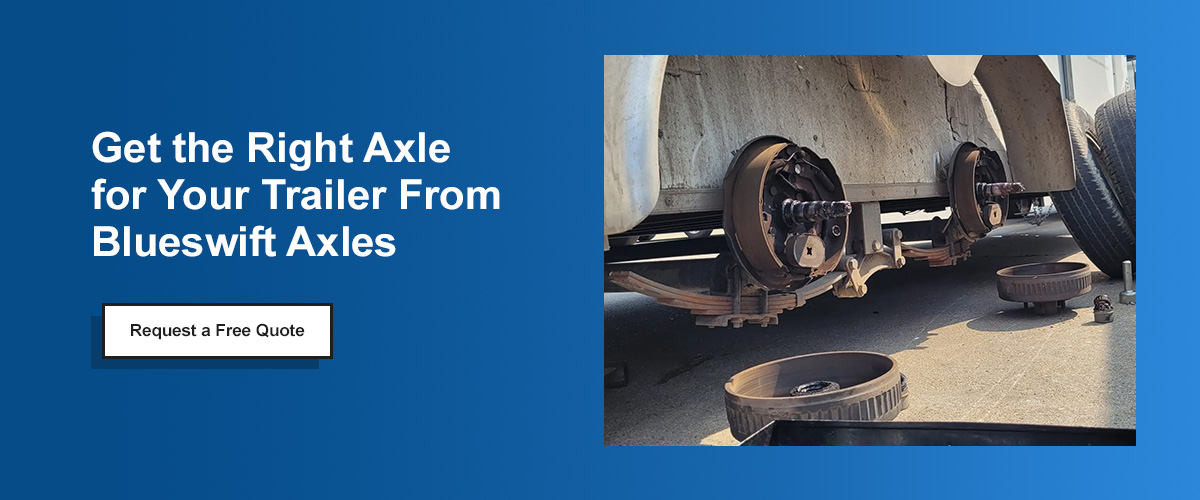
Get the Right Axle for Your Trailer From Blueswift Axles
Replacing your trailer axles can be cost-effective and rewarding, provided you follow the proper steps and take precautions. You can ensure a successful axle replacement by understanding the process, avoiding common mistakes, and knowing when to seek professional help.
If you want to upgrade your trailer with high-quality components, Blueswift Axles offers a range of durable axles that are easy to install. Our superior materials, excellent customer service and transparent warranties make us a trusted choice among trailer owners like yourself.
Ready to take the next step? Either shop our range or request a free quote for a trailer axle. Alternatively, you can contact us at 515-606-1943, and our team of professionals will gladly assist. Whether you have product questions, want advice on installing your axle or want assistance finding a shop near you, we are ready to help.